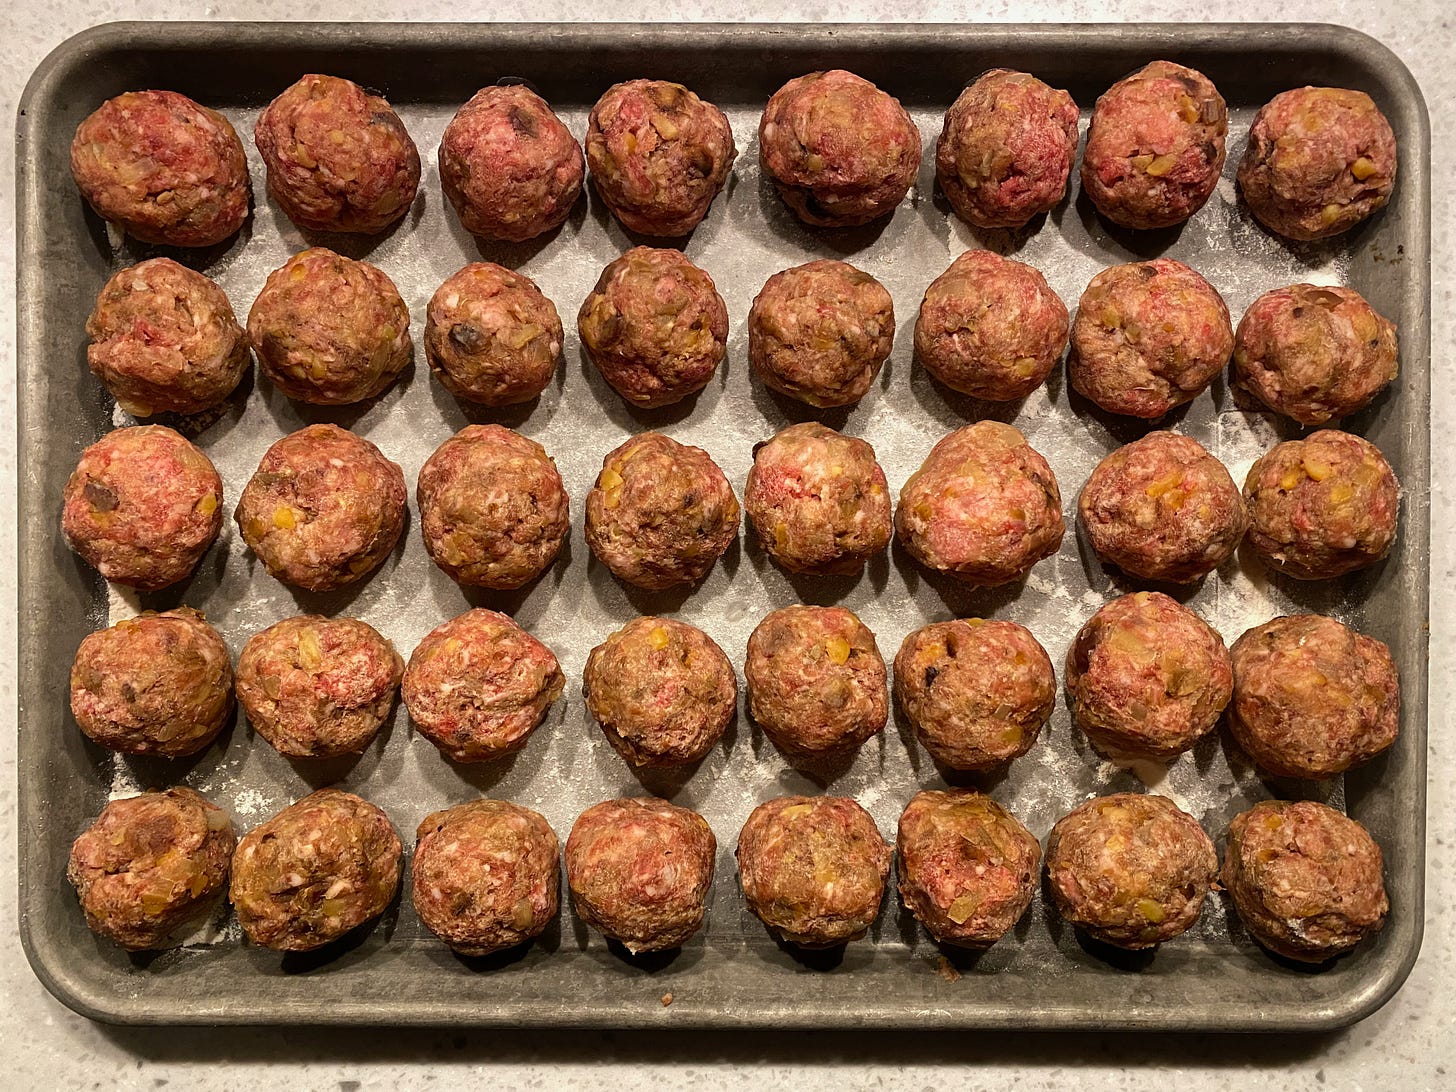
Improving your ground beef prep
Maximizing the workhorse of your beef share
When buying a side of beef, you will inevitably end up with quite a lot of ground product. On average, a bulk purchase will result in roughly 40 to 50% of your take-home product as ground beef. In my consultations with people, many have lamented that they run out of ideas on what to do with their ground beef. So what follows are some insights I have learned over the years in eating a lot of ground beef.
Many people will associate ground beef with being a more boring version of meat, but that couldn't be further from the truth. It does, however, highlight whatever flavors are inherent in the original animal, and as such, sourcing from a quality producer like a small family farmer makes a big difference.
Because of this under-appreciation of ground beef, many will simply put the slab of ground beef in a pan and then break it down as it cooks, often far beyond a reasonable level of done-ness. But sadly in most instances, cooking ground beef to well done is warranted as many retail packages of ground beef is made from dozens of different animals whose wellbeing prior to slaughter is unknown. Compare that to a reputable butcher that is processing one animal at a time, where you are able to validate and verify the health of the animal through the farmer prior to butchering. You can feel much more confident cooking that at a lower temperature (or not using heat at all).
The mission: develop flavor without overcooking
A well executed ground beef dish will accomplish two things: good amounts of browning without turning the beef into the protein-equivalent of sawdust. Using a hot pan is critical to achieving Maillard reaction, but breaking the meat down as it cooks will almost guarantee overcooking.
The solution to achieving both of these goals is to cook the ground beef as patties or even smash burgers, which allows you to that desired crust without overcooking the middle. Others have come to the same realization, including Case Bradford1.
Adding sodium chloride makes sense, but sodium bicarbonate?
Meat has inherently low levels of salt, but just a small amount can bring out an immense amount of flavor in your meat and make it much more enjoyable. Using 4-5 grams or 1 tsp per pound of meat. Additionally, I have recently been experimenting wtih the addition of baking soda to my ground beef. Below is a 90 second primer on why you should start adding baking soda to your beef:
Baking soda is an ingredient commonly used in Asian cooking, and it aids in creating a texture that retains more moisture and improves the overall quality. After numerous experiments, I have landed on 1.5-2g (or 1/3 tsp) per pound of ground beef being the right amount to improve the texture without affecting the flavor.
Cast iron vs. stainless - can’t we all just get along?
There has been extensive debate across the internet, particularly on Bitcoin Twitter, as to whether cast iron pans are superior to stainless steel pans. There is a misconception that cast iron offers an advantage with regards to their seasoning and the ability to function as a nonstick pan - a stainless steel pan can achieve as good, if not better, nonstick properties. As the steel surface heats up, it reaches a point where the moisture evaporates and creates a a very thin steam barrier on the surface, making it much harder for food to stick, known as the Leidenfrost effect2.
The real debate between stainless and cast iron is related to heat retention. Cast iron pans have greater mass resulting in better heat retention, meaning that when you put cold food into the hot pan, the surface temperature doesn’t drop as significantly. This is particularly useful when frying as once you lose the optimal frying temperature range it can be difficult to recover quickly.
The question then is, how do you know when the pan has reached the temperature necessary for this effect to kick in? Roughly speaking, the pan needs to reach around 350 degrees Fahrenheit and stay there for a few minutes before this effect takes hold. The way to figure out if the pan is ready is to pour a little bit of water into the pan. As the pan passes 212 degrees, water that hits the pan will immediately start to bubble and evaporate. This will become more energetic as the heat continues to rise until eventually it reaches a point where the water no longer evaporates immediately but instead beads up and flows around the surface of the pan, mimicking the way mercury appears. At this point, the pan is ready to be used.
Back to the beef - my method for preparing ground beef
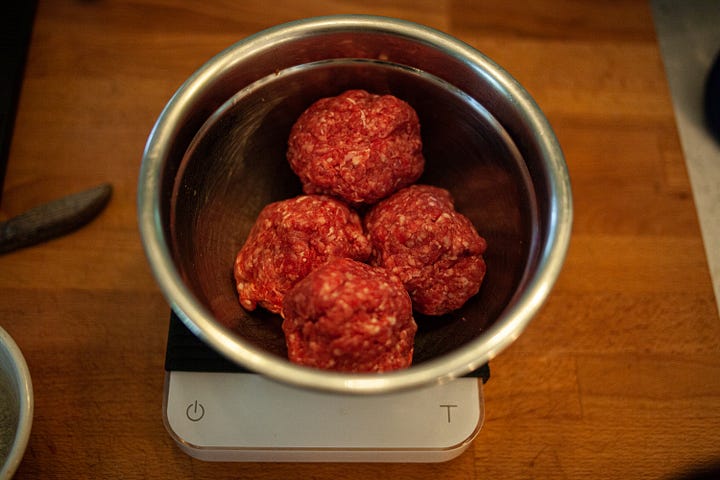
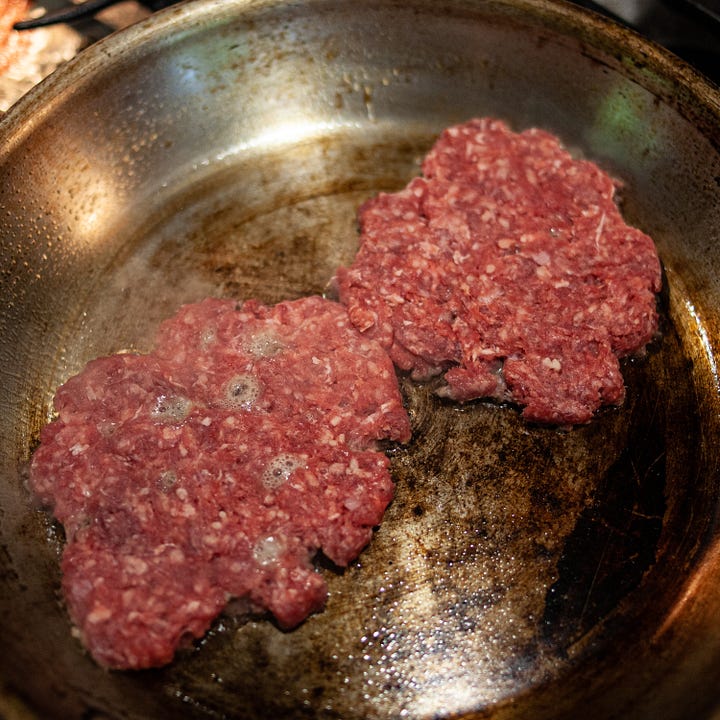
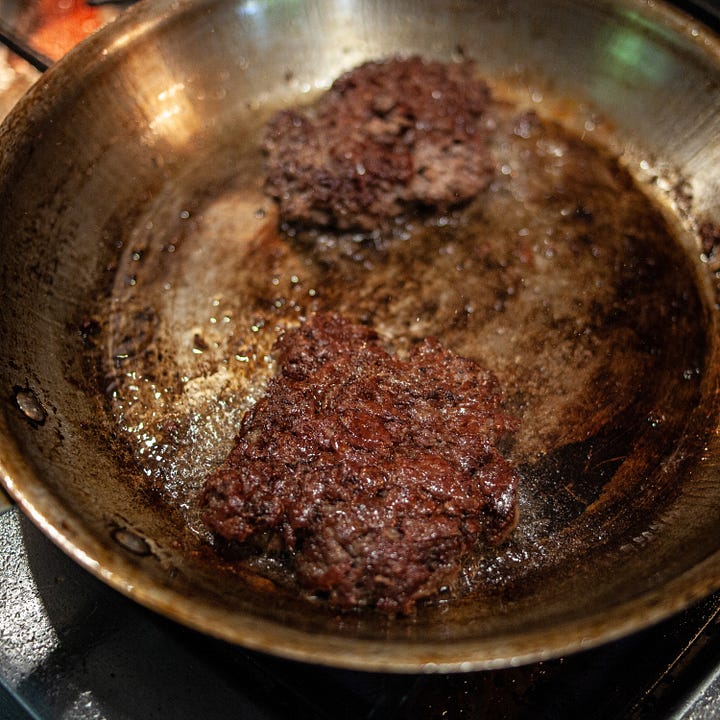
For the preparation, I will take out a pound of ground beef, pat it dry to remove some of the excess moisture, and place it in a metal mixing bowl. From there, I will weigh out two grams of baking soda and four grams of salt, and incorporate it with my hands. The goal here is to get all of the salt and baking soda integrated without overworking the meat, which will otherwise result in a meatloaf-like texture. I'll then let it sit in the bowl for the next five to ten minutes while I get the pan heated up.
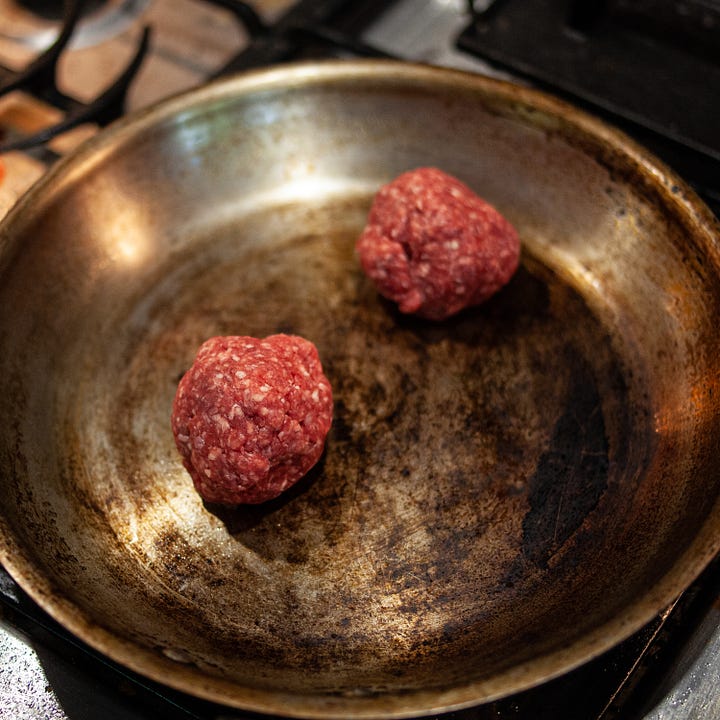
For a pound of ground beef being cooked in a 12-inch stainless steel pan, I will break up the ground beef into four balls, roughly four ounces each. I will take two at a time, place them into the pan, then use a spatula to press them down to around an inch thick to get an even distribution of meat. Having already salted the meat, there is no need to add more salt at this point. Having established good contact with the bottom of the pan, there will be a great browning effect that will take place.
After about 60-90 seconds on that side, use the spatula to peel the patty off the bottom of the pan, flip it over, and depending on the thickness, you will only need a brief amount of time on the second side to complete the cooking process. Then move them out into a bowl, scrape out any remaining fond or bits from the pan, restore the desired temperature range, and then place the other two balls in and smash once more. Once all four are complete, you can use the spatula or another utensil to break apart the patties in the bowl until they have an even, coarse ground beef texture.
If you are sourcing good quality meat, the flavor of this end product—just beef, salt, a little baking soda, and some tallow in the pan—will be absolutely fantastic. However, for many, that can get to be boring or redundant, and there is a desire to make different kinds of bowls with that ground beef. Here are a couple of different ideas: You can do a taco bowl where you add rice, salsa, cilantro, avocado, taco seasoning, lime juice, a little fish sauce, and pickled onions. You can do a burger bowl where you add ketchup, mustard, and crispy fried onions. You can also do a Japanese-inspired bowl with soy sauce, ginger, garlic, scallions, honey, and sesame seeds.
The Purpose of the Primal Cut Sheet
This is part of an ongoing series that aims to provide you with all of the information you will need to start buying high-quality beef in bulk directly from a local producer.
If you’re looking to buy in bulk right away and would like some personalized assistance, I also offer 1:1 consultations to help you navigate cut sheets or answer any other questions you might have:
By being a paid subscriber, you help support my efforts to bring most of this content to the public free of charge and free of advertisements. Thank you.


