Consult dispatch #1: braise fundamentals
What do you do with a random brisket?
While most of the consultations I offer are related to discussing the ins and outs of a cut sheet, some questions that come in are further downstream - most notably “what do I do with [insert cut name]?” In the scenario below, a founding member of Primal Cut Sheet asked what could be done with a brisket when a smoker wasn’t available. What follows is a transcription of my monologue response, describing how you could leverage a brisket to stand in as a replacement for chuck roast or short ribs in a classic pot roast or stew, including some general guidelines on how to build a great braising liquid. While some of the discussion is specific to brisket, much of the overall concepts outlined can be applied to any roast cut that comes off the front quarter of the animal.
Braising brisket is going to consist of a couple of different primary components. There's going to be the initial cutting, the dry brine, the building of your braising liquid, the browning of the meat, and the browning of the aromatics. And finally, the assembly and cook time.
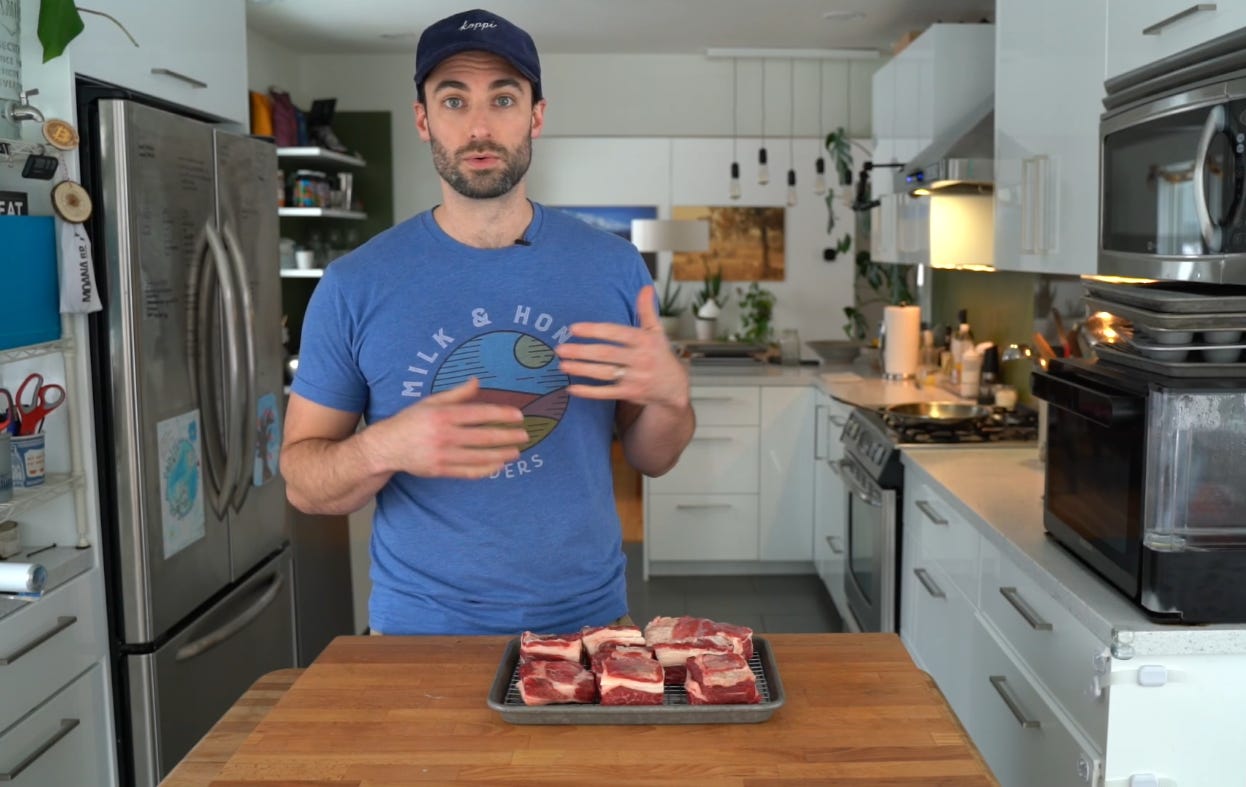
For the initial cutting, you're working with a brisket which makes it a lot easier—you don't need to trim around the bones. However, you're going to want to break it down a little bit to make it easier to work with in whatever braising vessel you're using. I will usually opt for larger lobes, roughly four by eight inches and at least a few inches thick. Keeping them in this shape will prevent overcooking, at least to a degree. Once the cooking is complete, you can always break it down into smaller bite-sized pieces if you so choose.
Now, our full brisket is going to be comprised of two main muscles, the point, and the flat. They kind of lay over the top of one another—one is leaner, the other is fattier. When you're braising, you might want to trim a little bit more of the fat relative to what you would normally have in a brisket. Although a lot of that fat will just naturally render out into the braising liquid. Once you've broken down your meat, you can start the dry brining process. Four to five grams of salt per pound is going to be your target. I do find it easiest to just use a scale to measure the salt and then evenly coat all the pieces. Once dry brining, place them on a rack in the refrigerator and leave it overnight. No longer than 36 hours. If you're doing it longer than 12 hours, you should flip them over every 12 hours as the side facing up will start to dry out faster.
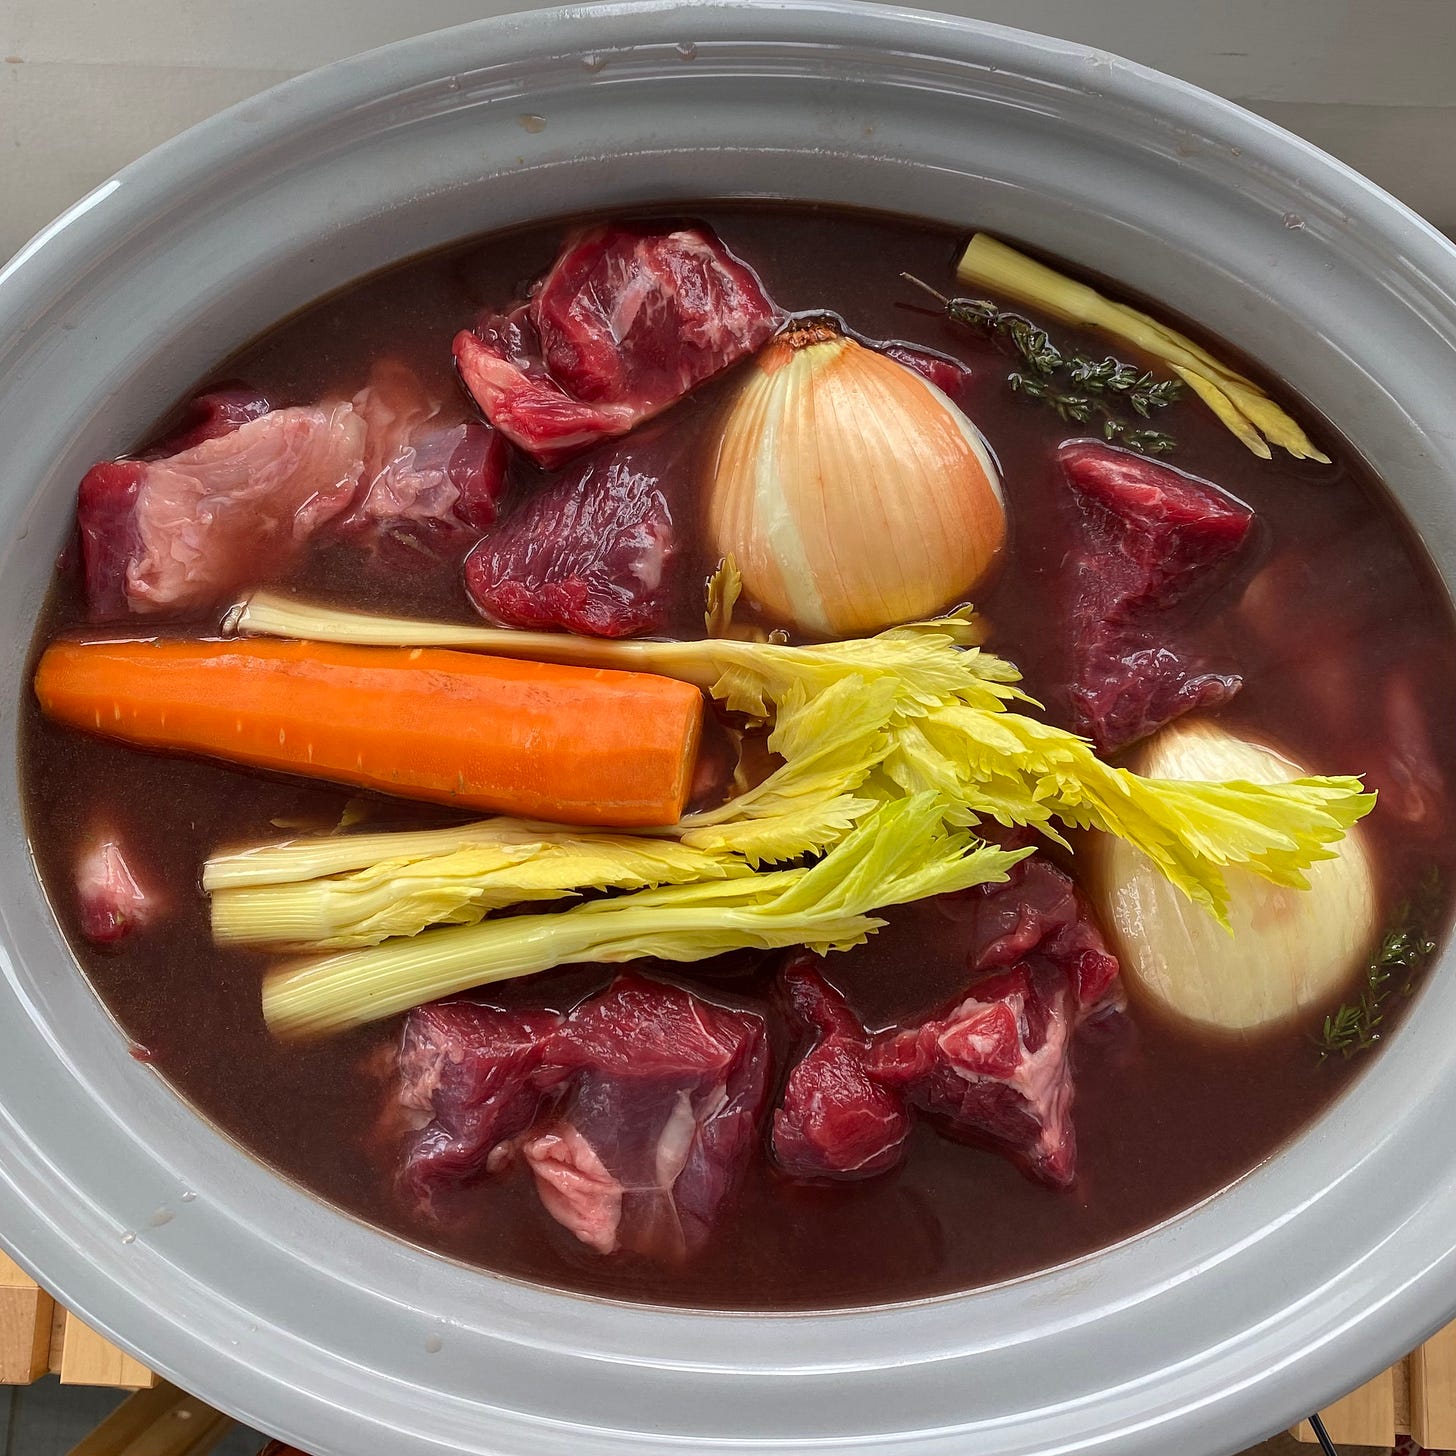
Now that you've got your meat dry brining, you can start to think about the braising liquid that you're going to be building. You want to ensure that the braising liquid is flavorful. My standard approach is a chicken and/or beef stock base amplified with herbs and other umami bombs. So I will often incorporate tomato paste, better than bouillon, Worcestershire sauce, soy sauce, miso, tomato paste. There are a lot of options that you can pursue there. You can also add red wine if you're looking to go in the direction of more of a classic French braise or kind of a pot roast. And then for herbs, if you're going to do red wine, thyme goes really well with that. But I would say for the sake of keeping it more usable in a lot of different directions, just simply grabbing a couple bay leaves, some salt, pepper, maybe a little bit of garlic powder or onion powder, and then building up flavor using better than bouillon, tomato paste, fish sauce, and Worcestershire sauce. If you're working with a whole brisket, let's say that it's about 10 pounds of meat, you're probably going to want to have at least two quarts of stock. You can always add liquid by adding water if you get everything assembled and you realize that there's not enough liquid to complete the braising, but then that dilutes the flavor. So you want to make sure you compensate for that. So with a 10-pound brisket, two quarts of stock, maybe a couple tablespoons, three tablespoons of better than bouillon, a tablespoon or two of tomato paste, a tablespoon of fish sauce, and Worcestershire sauce.
The meat is going to have excess liquid, excess water weight that will come out and into the braising liquid. So having your braising liquid be a little bit on the more intense side is going to be helpful to ensure that it continues to remain flavorful after the braise is complete. So now that you have a rough idea of the braising liquid that you plan on building, now you can think about if you want to use vegetables and/or aromatics. I will often just do onions and garlic. If you're going to go with a more kind of a classic pot roast, you would go with carrots and onions, maybe some potatoes. If you're doing a French braise, you would do what's referred to as a mirepoix, which is carrot, celery, and onion. But I think that onions and garlic with a flavorful braising liquid, it does a bang-up job.
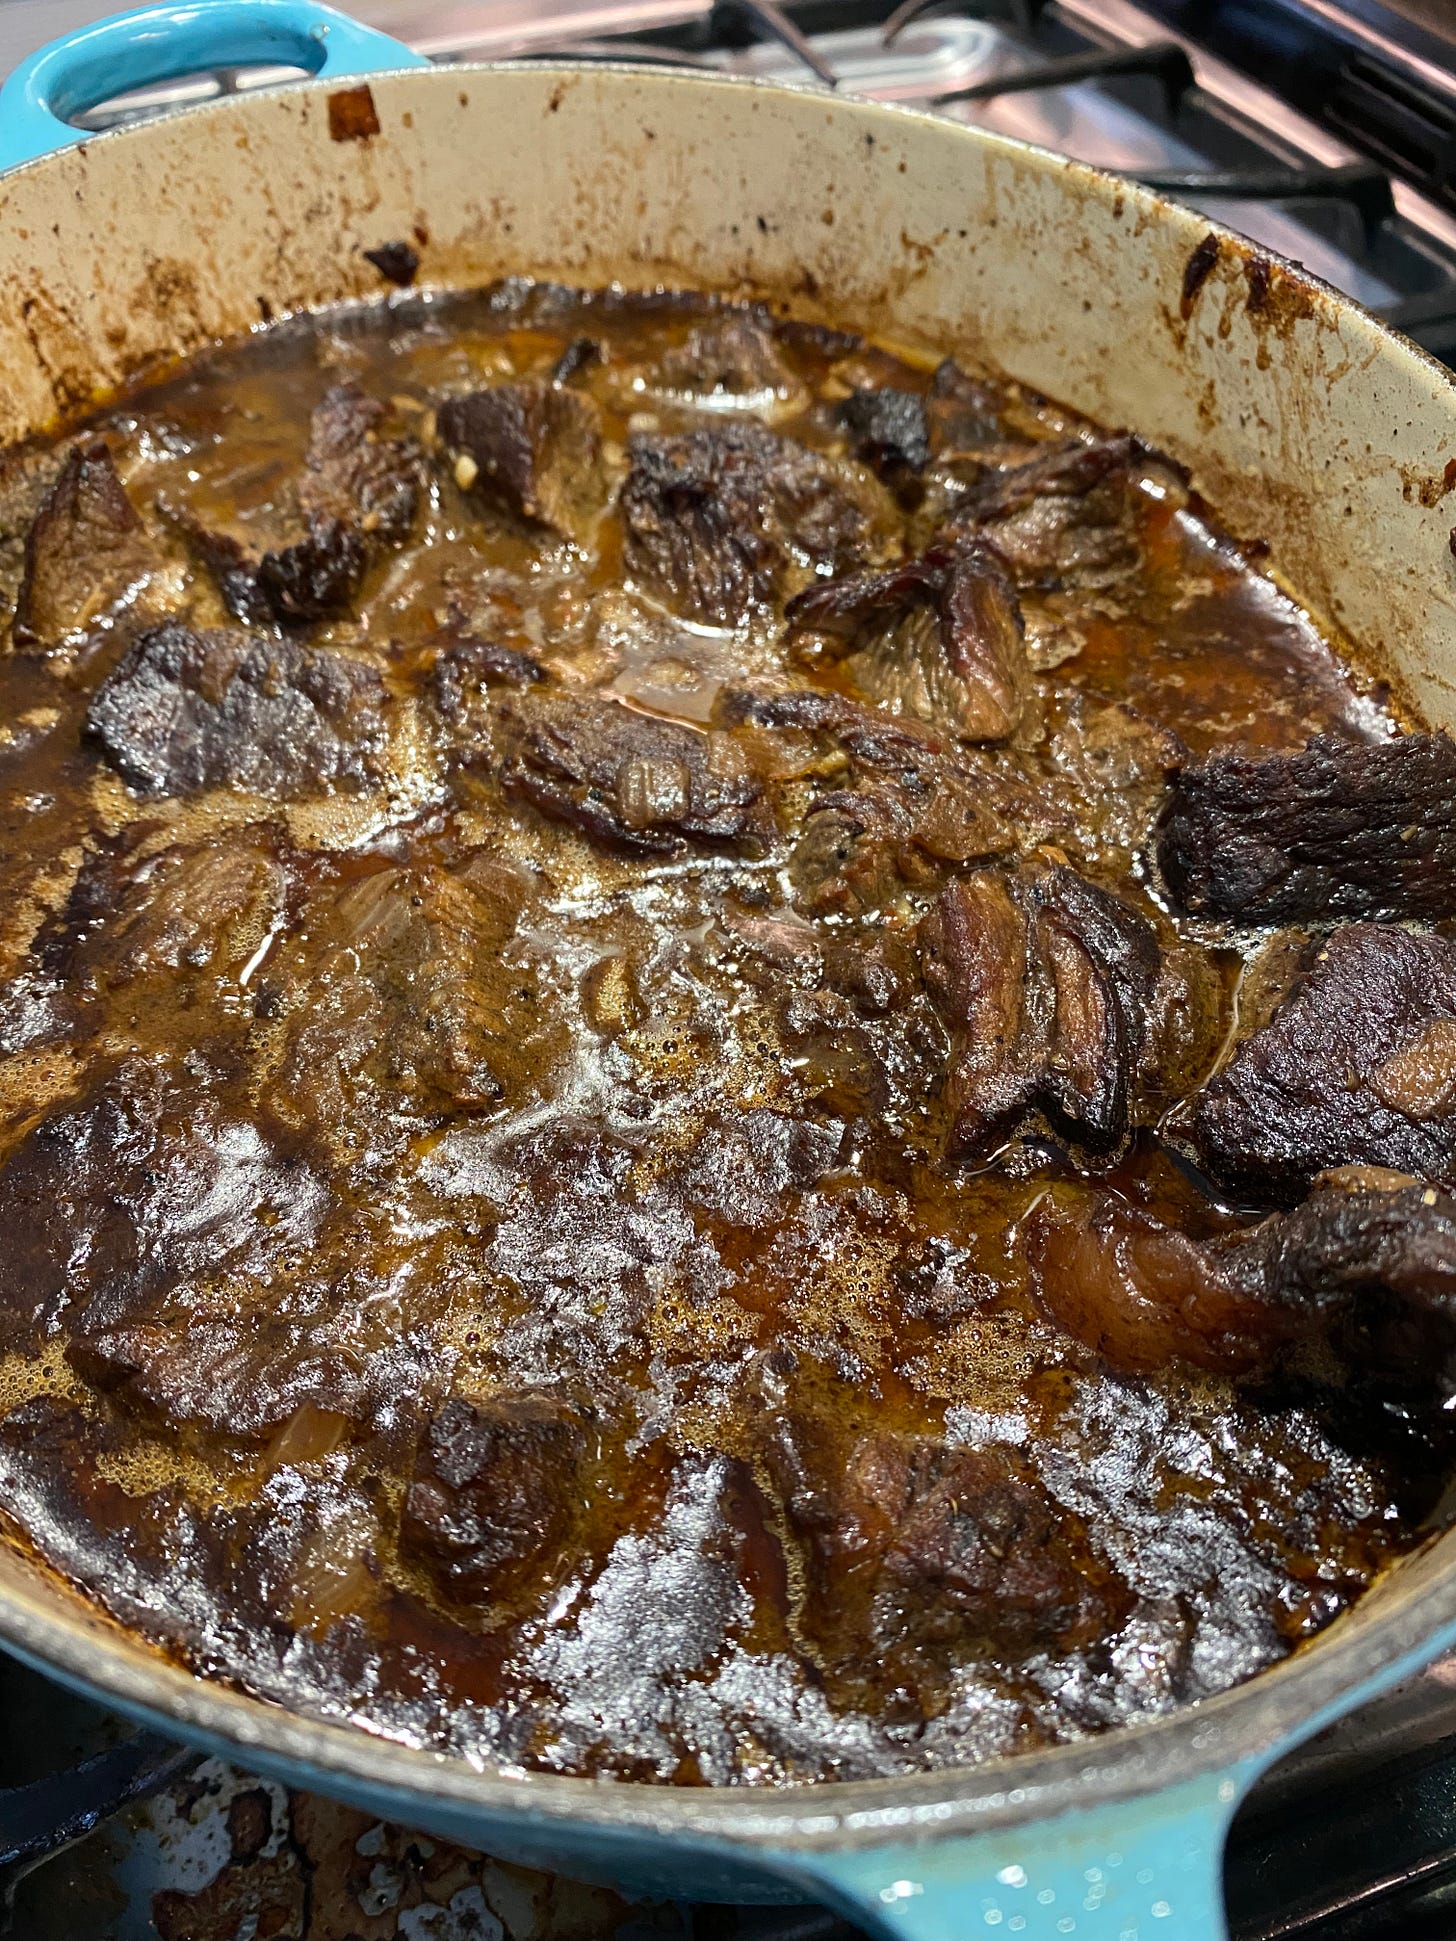
You also need to consider what type of braising vessel you're going to be using. Are you going to be using a Dutch oven? Are you going to be using a slow cooker? So you now have your meat dry-brined. And you've got your game plan in place. Now is when you start the assembly and prep. So meat comes out. You're going to use either a cast-iron skillet if you're going to be using a slow cooker or you're going to use the Dutch oven that you'll eventually be using. Overall, you're going to get that over medium-high heat. You do not want it to get super hot. All you're looking to do is get some brown crust developed on the outside of each of these pieces. The other advantage of keeping these meat chunks on the larger side is that it is a little bit easier to work with during the browning process. You're going to use some kind of healthy fat whether it's tallow or clarified butter. A higher smoke point is going to be helpful but you want to be targeting about 350 to 360 as a surface temperature. Not only does it start to smoke and degrade the oils that you're using if you go higher than that temp range, but all of the beautiful brown flavor that builds up on the surface of the vessel you're cooking this in will start to black in and you won't want to use that in the assembly of the braise because, in part, a bitter flavor. So by keeping that temperature in the 350 to 360 range, you're going to get browning development without charring. So work your way through all of those cuts of meat.
Once complete, you can just transfer them back onto the rack that you are dry-brining on. Don't worry about cooked meat coming into contact with the rack that held raw meat because all of this is going to be going into the braise for multiple hours. If you are going to be incorporating vegetables, whether it's onions or carrots or anything else, having those chopped and ready to put into the same vessel you use to brown the meat right away will allow you to then scrape up a lot of the brown stuff stuck to the edges and the bottom of the pan. If you're using onions, don't salt them right away. Give them some time to start to develop a little bit of a brown and again, manage the heat so that you aren't getting too many black, crusty pieces of onion. Once you start seeing some color on them, you can add salt to taste.
When it comes to the assembly of the braising liquid, I'm using frozen stock. So I'm gonna start filling those out before I start browning the meat. If your stock is already in the refrigerator, you can just add that to a separate pot, start to warm that up. Or you can wait and just pour that in after you've finished sorting any of the other ingredients you plan on having in the braise. For some of the ingredients like the better than bouillon, tomato paste, miso. All of those are thicker pastes. And it is best to first put those into a separate smaller bowl, add a little bit of stock, and start to break those down and get those into a runnier consistency before you add it to the bulk of the liquid, the braising liquid. Otherwise, you'll just have big clumps of tomato paste or better than bouillon that doesn't really come apart and dissolve. So, start building your braising liquid, get it to a point where you're satisfied with the flavor. Oftentimes, if it doesn't have enough of a standout flavor, using fish sauce is going to help to open that up. Worcestershire sauce also accomplishes the kind of amplification of flavor.
So now you should have your brown meat, your aromatics, your braising liquid. Make sure you add a couple bay leaves to that if you're using a Dutch oven. Once you have finished with all the browning, you can strain off some of the fat that was being used in there. But because you're using brisket, there's going to be plenty of other fat that renders out so you might just want to wait until the end to skim some of that off. If you're using a slow cooker, you don't have to worry about skimming or removing the fat initially because it's not in there. So you'll then start to assemble and the meat, liquid aromatics, bay leaf, herbs, whatever else needs to go in there. All gets assembled, the amount of liquid that you're using. You don't need it to completely cover all the meat. The meat is going to shrink down. Waterways inside of the meat is going to leach out and it's going to find a new equilibrium. Plus if you have some meat sticking out that will, if you're using a Dutch oven, that will continue to add to the browning development.
For a Dutch oven, if you can put it at the lowest setting that your oven will allow. I am a huge proponent of braising at around between 165 to 175 degrees Fahrenheit. This takes longer than what is normally recommended, raising it to 25 to 250 or even higher. But this prevents the muscle fibers from breaking down too much and subsequently not being able to reabsorb the liquid as easily. Oftentimes, this process can take upwards of 12 to 14 even 16 hours depending on the size of the cuts of meat. But the patience will be rewarded. Getting this all assembled in the morning, and then having it ready in the evening is a pretty solid move. You can also always assemble it in the evening, then have it run overnight and then throughout the morning, and towards lunchtime, you can kind of occasionally test the meat to see if it's tender enough if it's ready to be pulled.
The Purpose of the Primal Cut Sheet
This is part of an ongoing series that aims to provide you with all of the information you will need to start buying high-quality beef in bulk directly from a local producer.
If you’re looking to buy in bulk right away and would like some personalized assistance, I also offer 1:1 consultations to help you navigate cut sheets or answer any other questions you might have:
By being a paid subscriber, you help support my efforts to bring most of this content to the public free of charge and free of advertisements. Thank you.


